Mountain Photography TipsTaking great shots of mountains can be a challenge for any landscape photographer, professional or amateur. 1. Such as with most landscape photography, waking up early and being out late will offer you with some soft and warm light for taking beautiful pictures. Stay away from rough midday sun as the high contrasts shaped by hazy ultra-violet light will be improper for mountain photographing - really if it's winter. If those are the only occasions available to you, get a polarizing filter for your camera. Just keep in mind that the higher the altitude, the darker the sky will become by having a polarizer and you may want to lighten the effect if the stage or fields looks too unnatural. 2. Clouds in the sky are your friend when you’re photographing mountains. They can improve mountain scenery in most scenarios and typically add a eye-catching touch above mountain tops. If there is varied/different light(s) at sunrise and sunset, spot yourself so your subject is illuminated from the back. In the case of the clouds lighting up and bursting in color, you’ll be able to snatch the some of the best pictures this way. The most impressive mountain images include a flaming display at sunset or sunrise with a quiet lake or water to mirror the mountains and the clouds. 3. Review the weather and wind prediction before leaving for a mountain shoot, but know that the weather in the mountains can change very fast from sun to snow. Be ready with warm clothes and you should take your phone(that's already charged) and GPS with you. 4. Beautiful mountain landscape photography is exactly about the quality of the light. Have patience. Days with periodic sun and overcast light might indicate that you have to wait until the circumstances are ideal. 5. Because you can’t move a mountain around, be willing to move your position as much as needed to grab the best photos in the most amazing light.References: http://digital-photography-school.com/ and http://www.dpreview.com/  4 Easy Steps For More Creative Landscape Photos
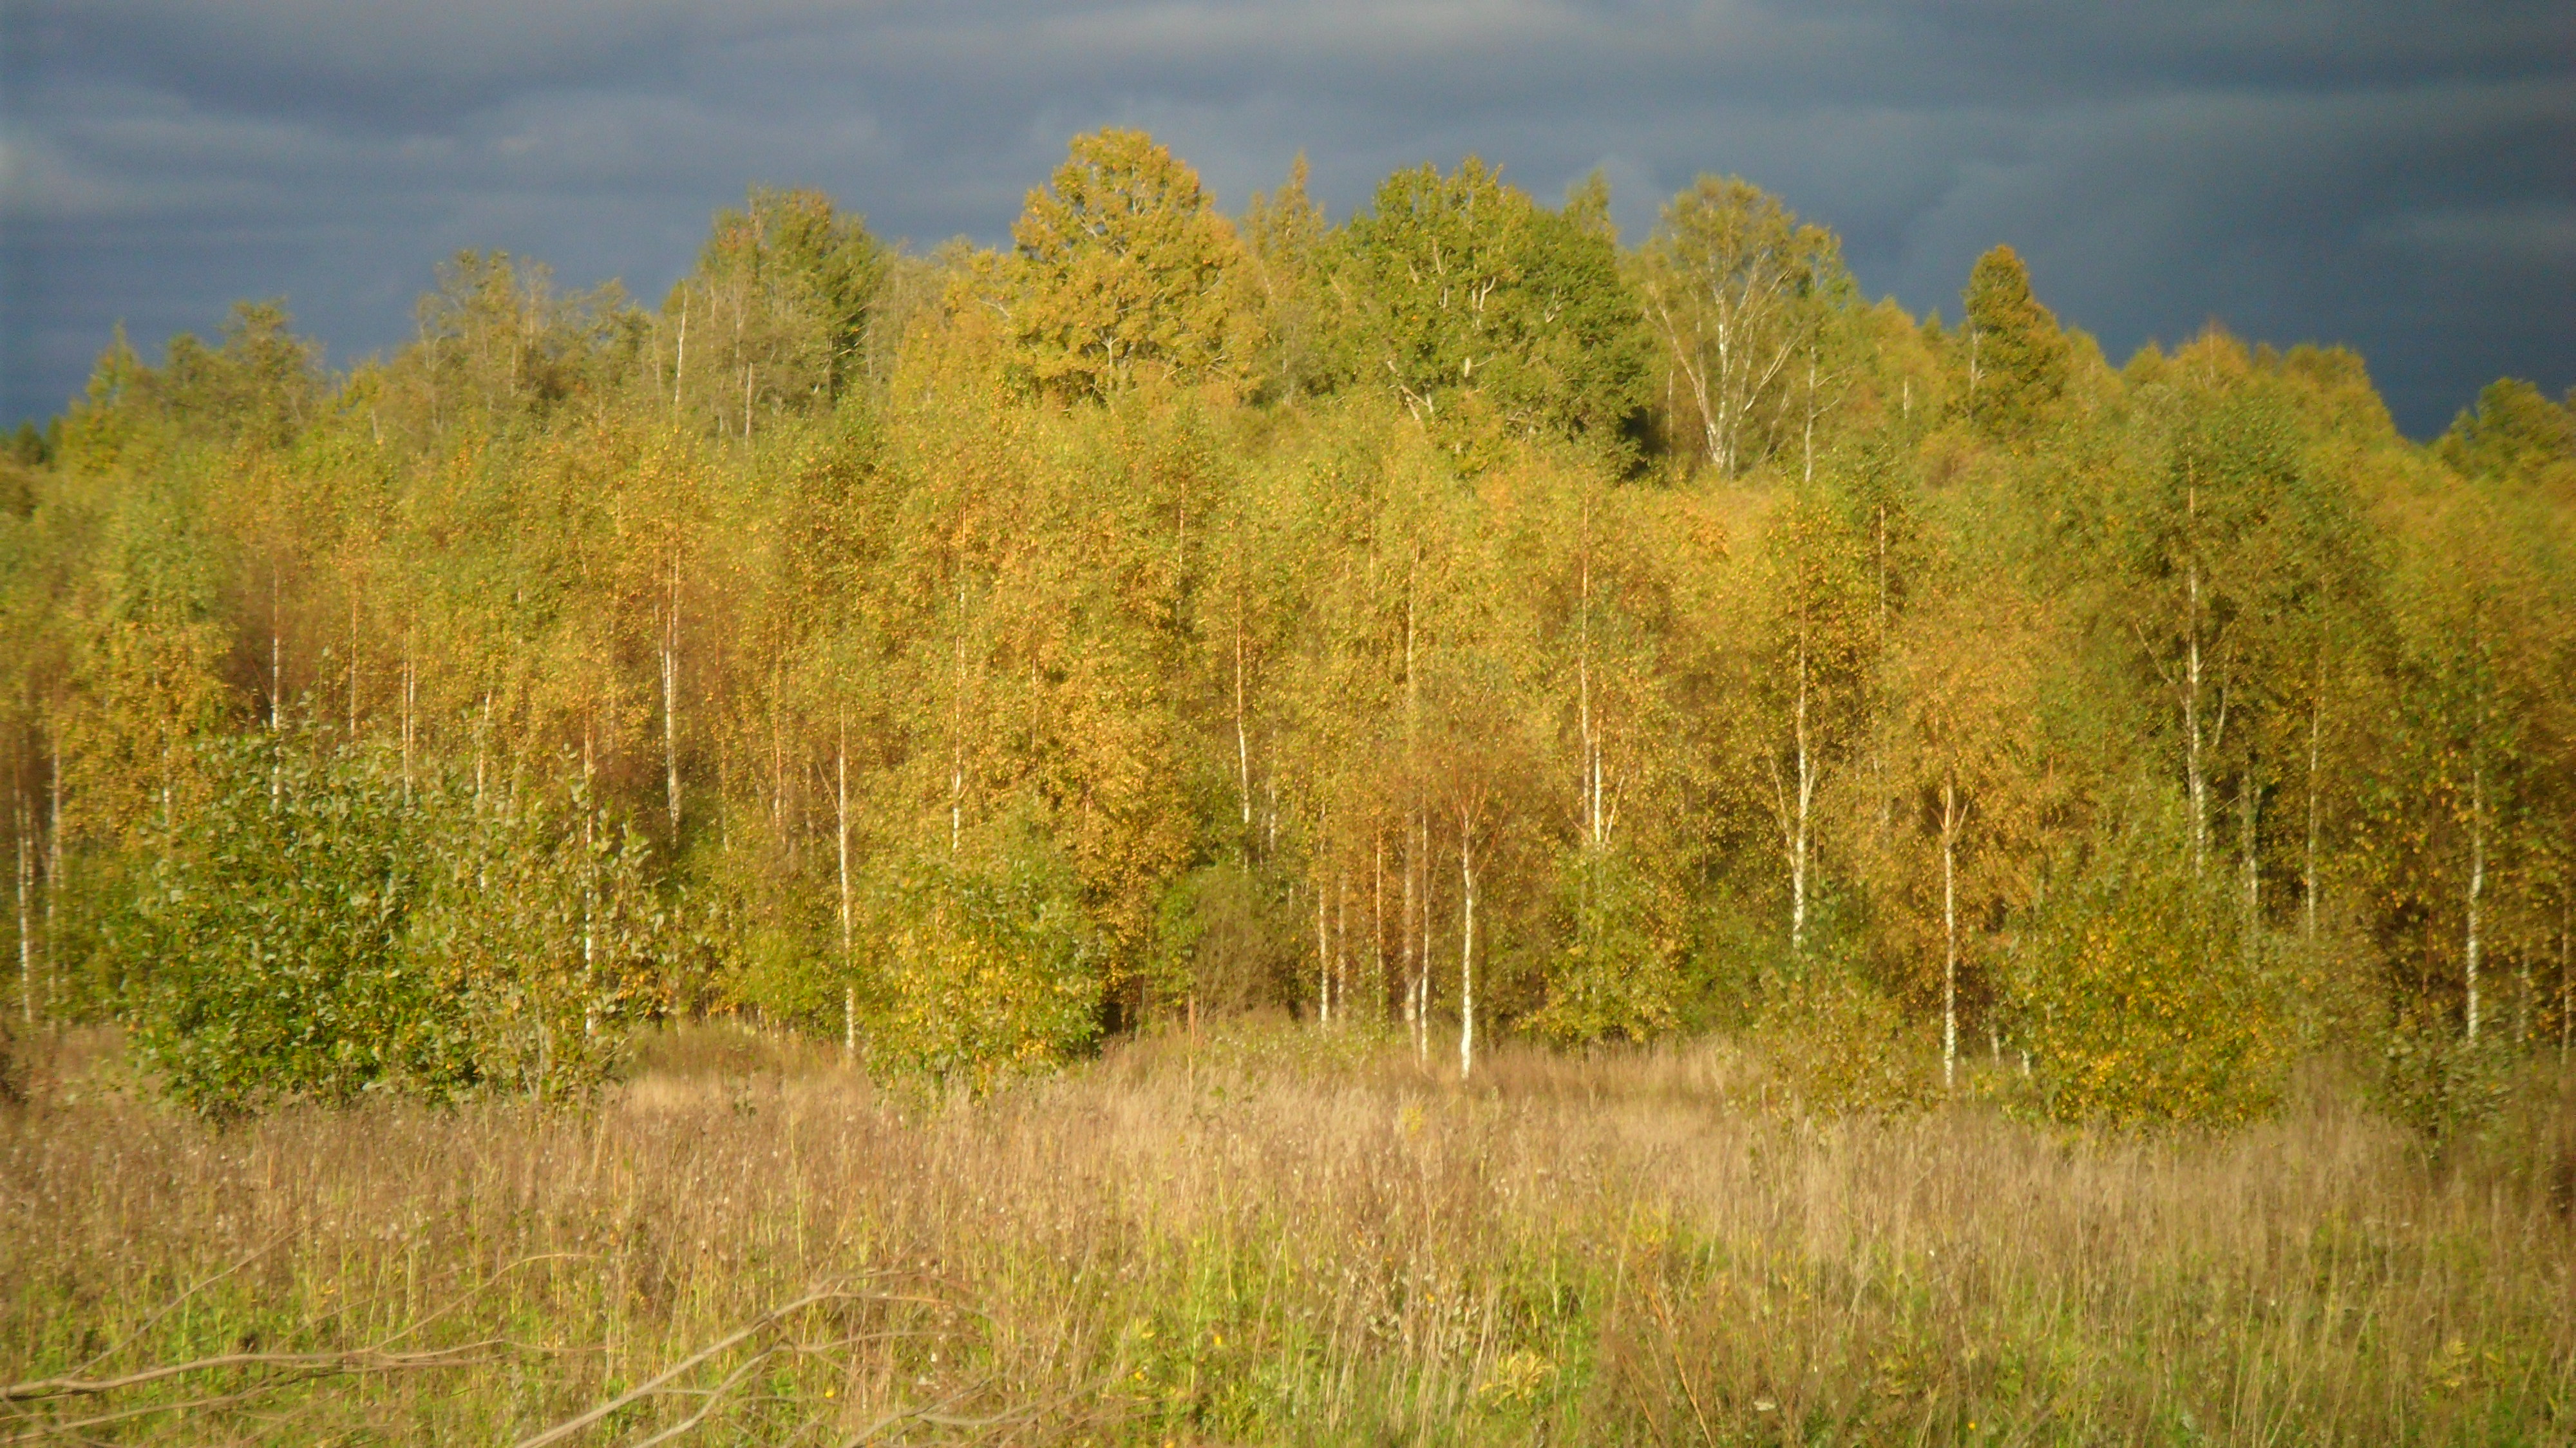
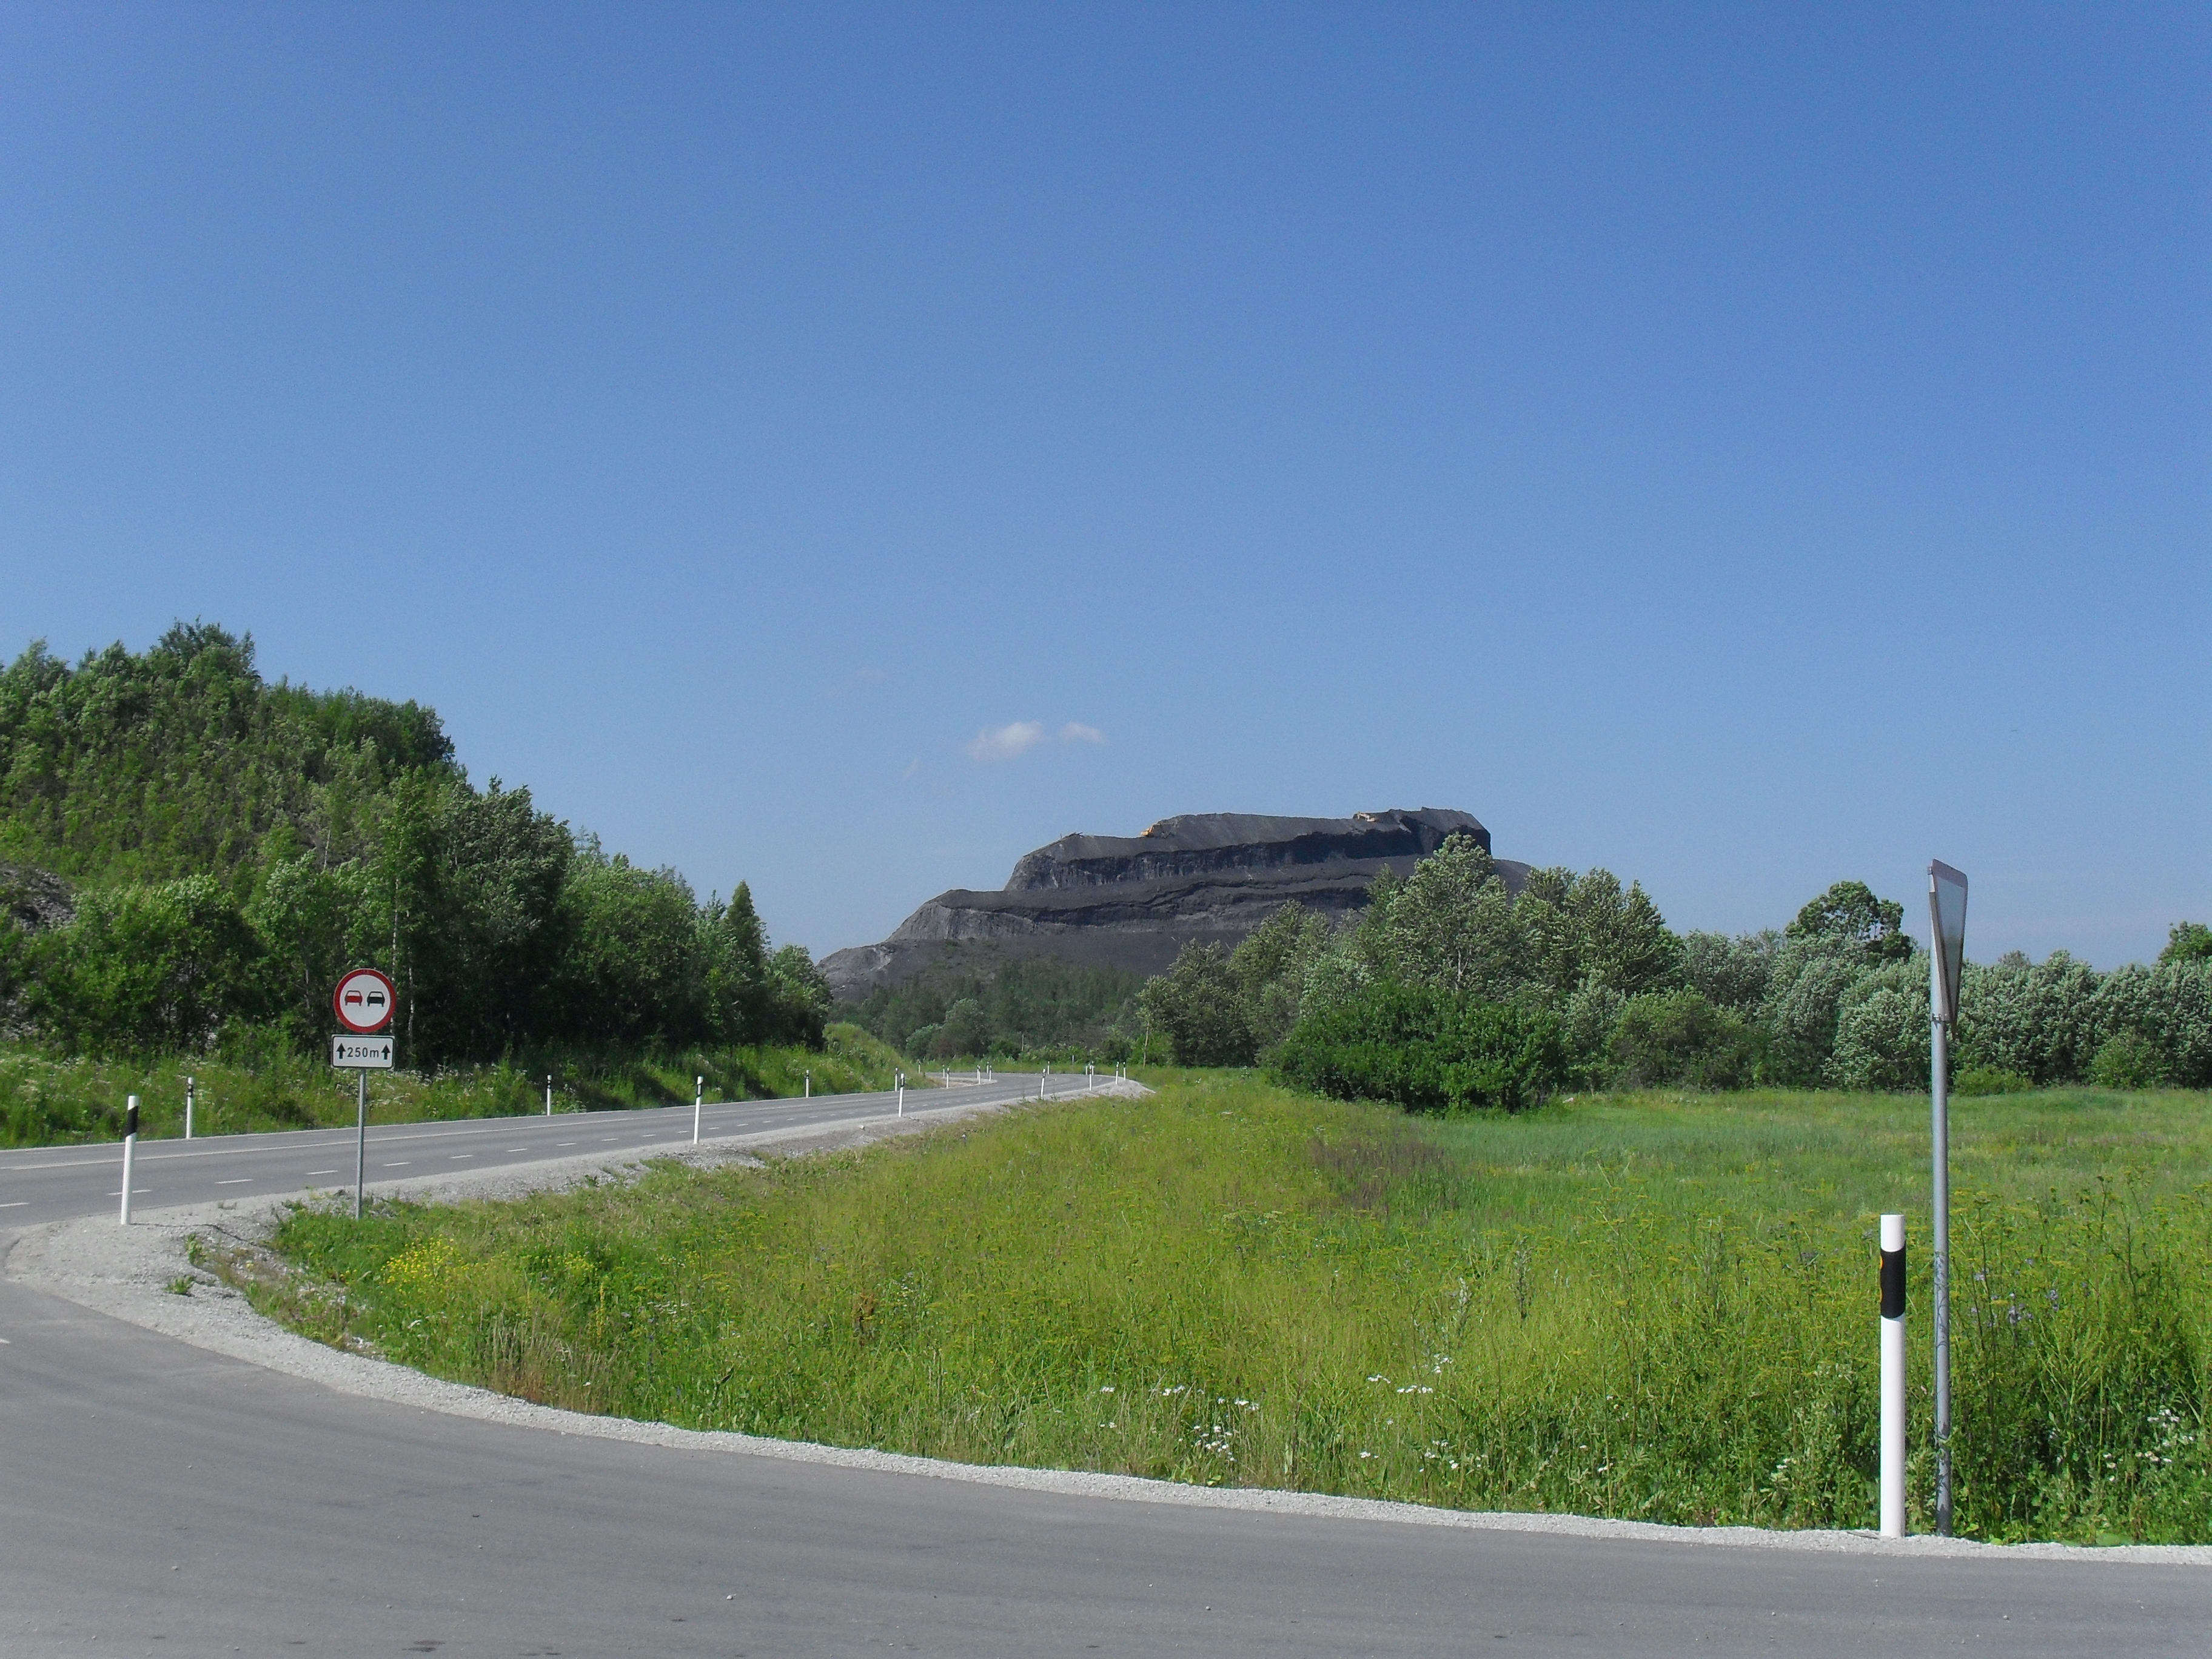
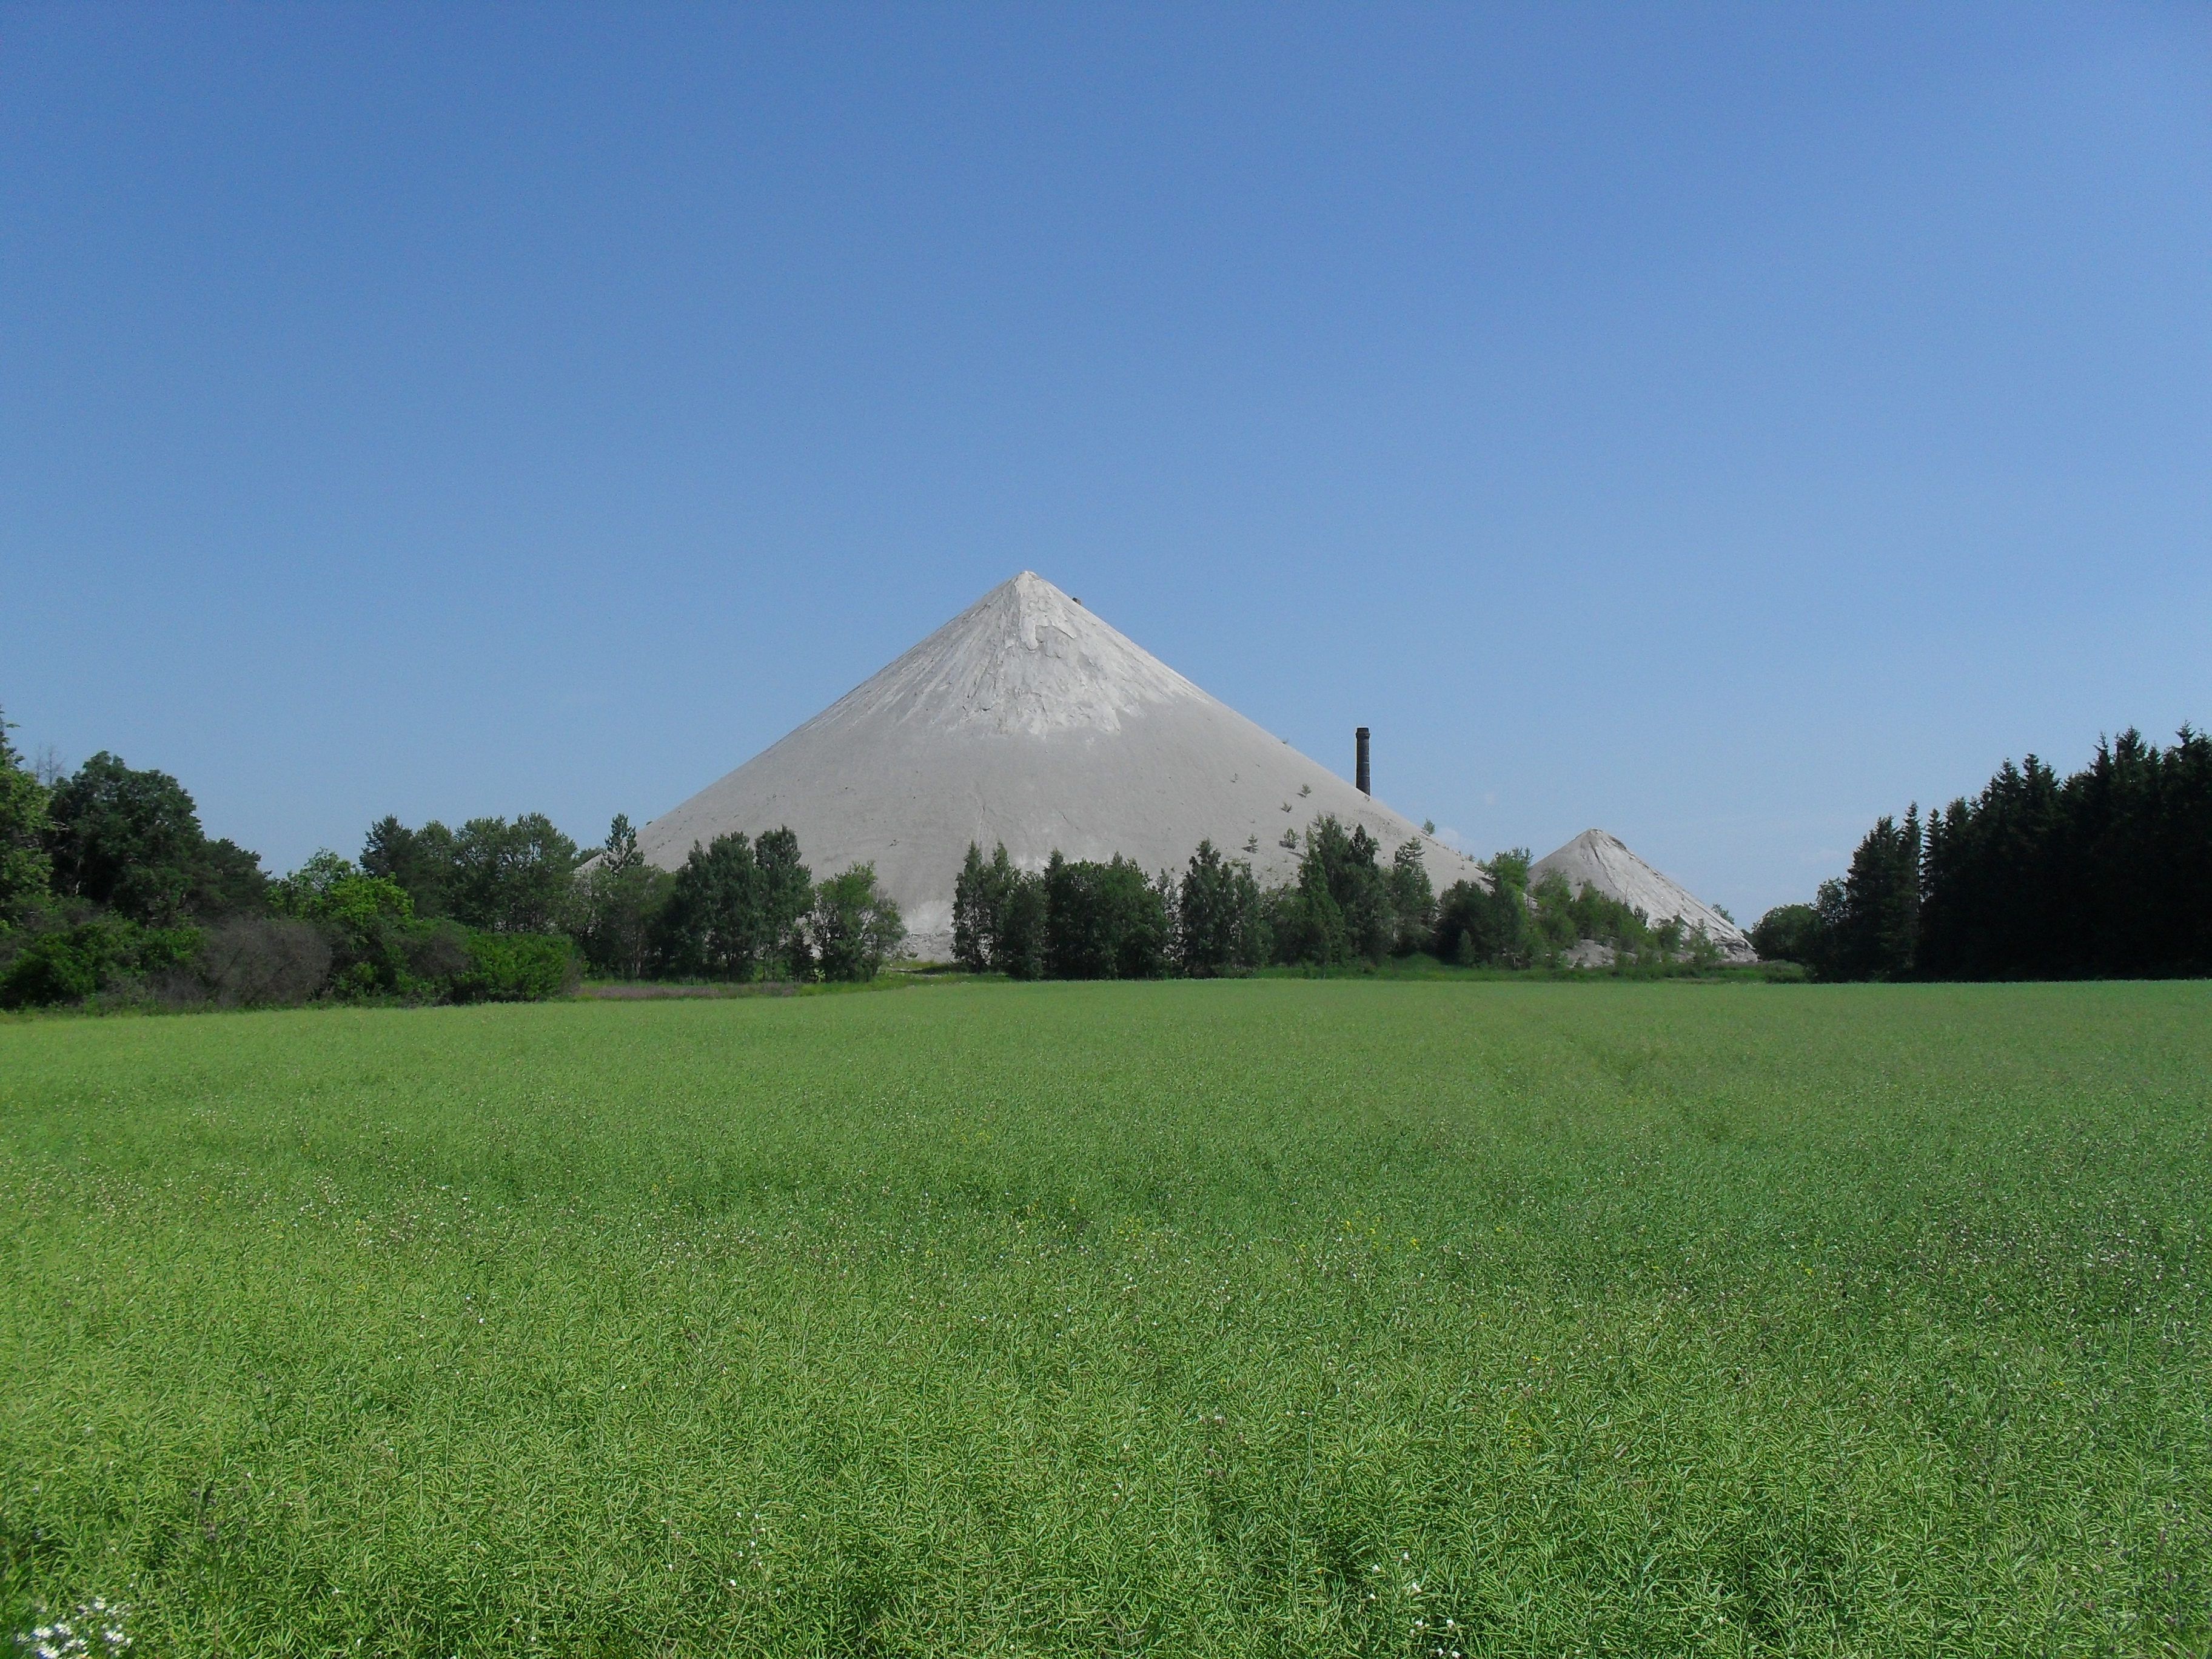
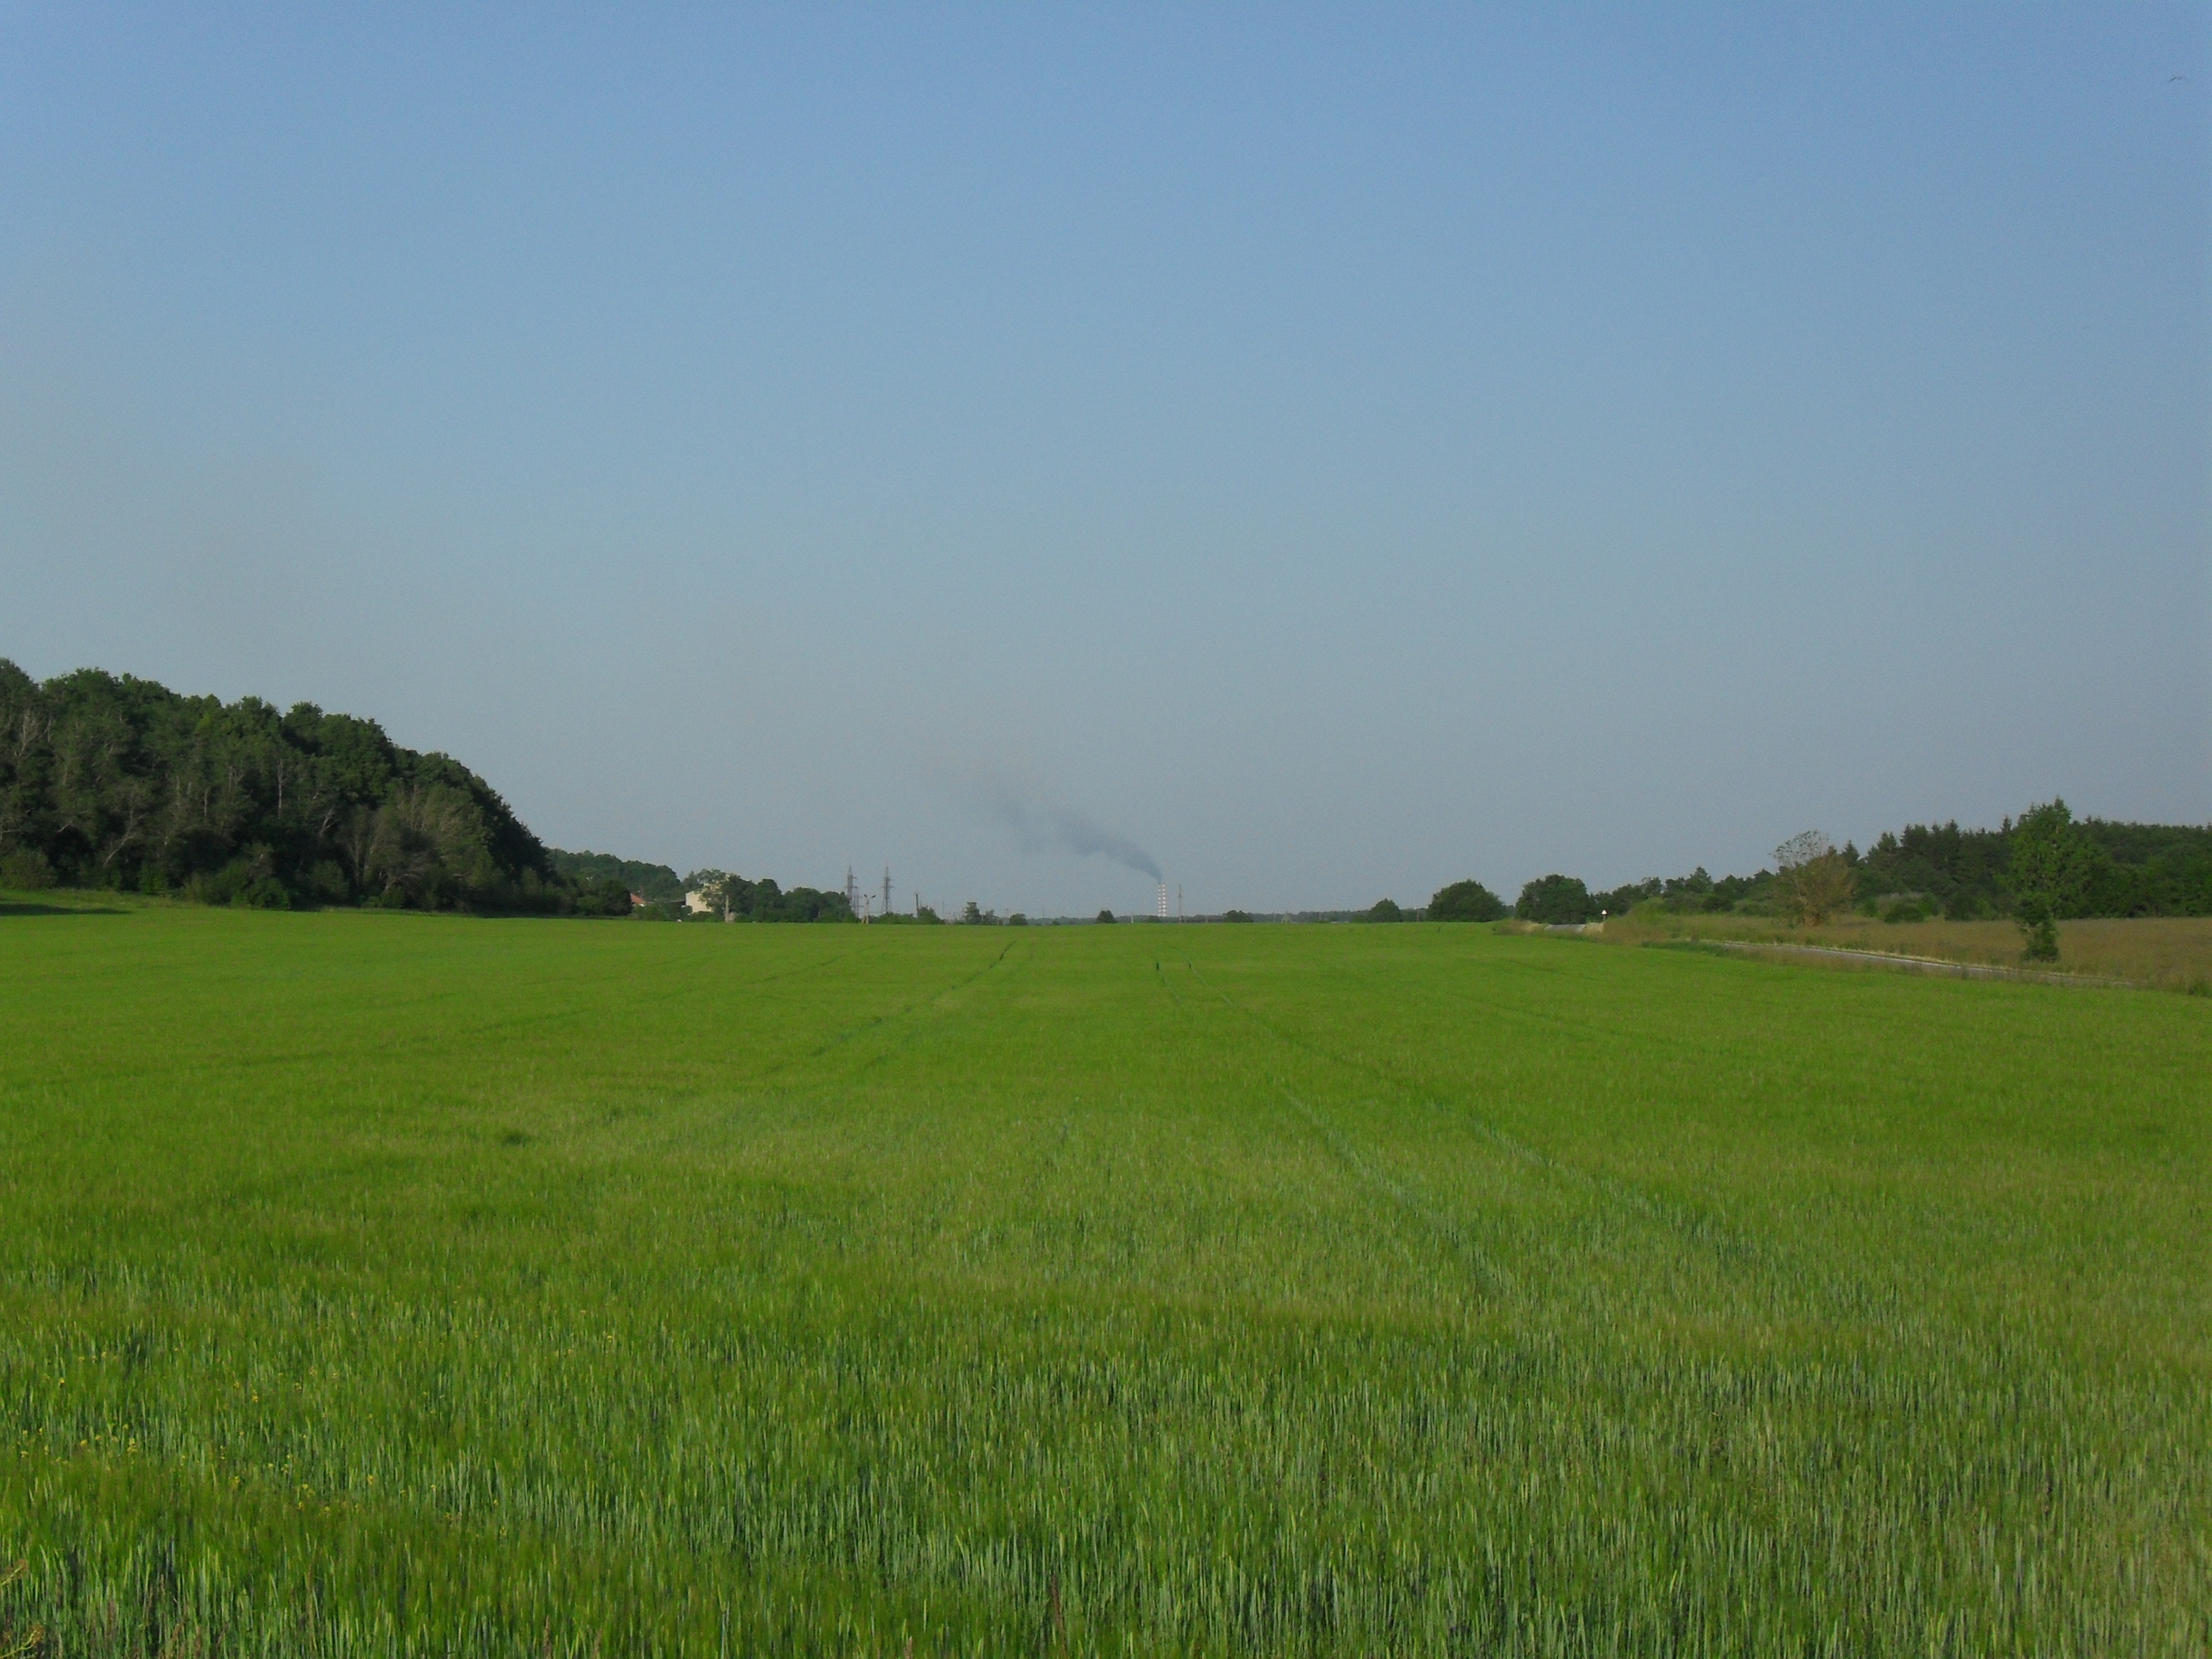
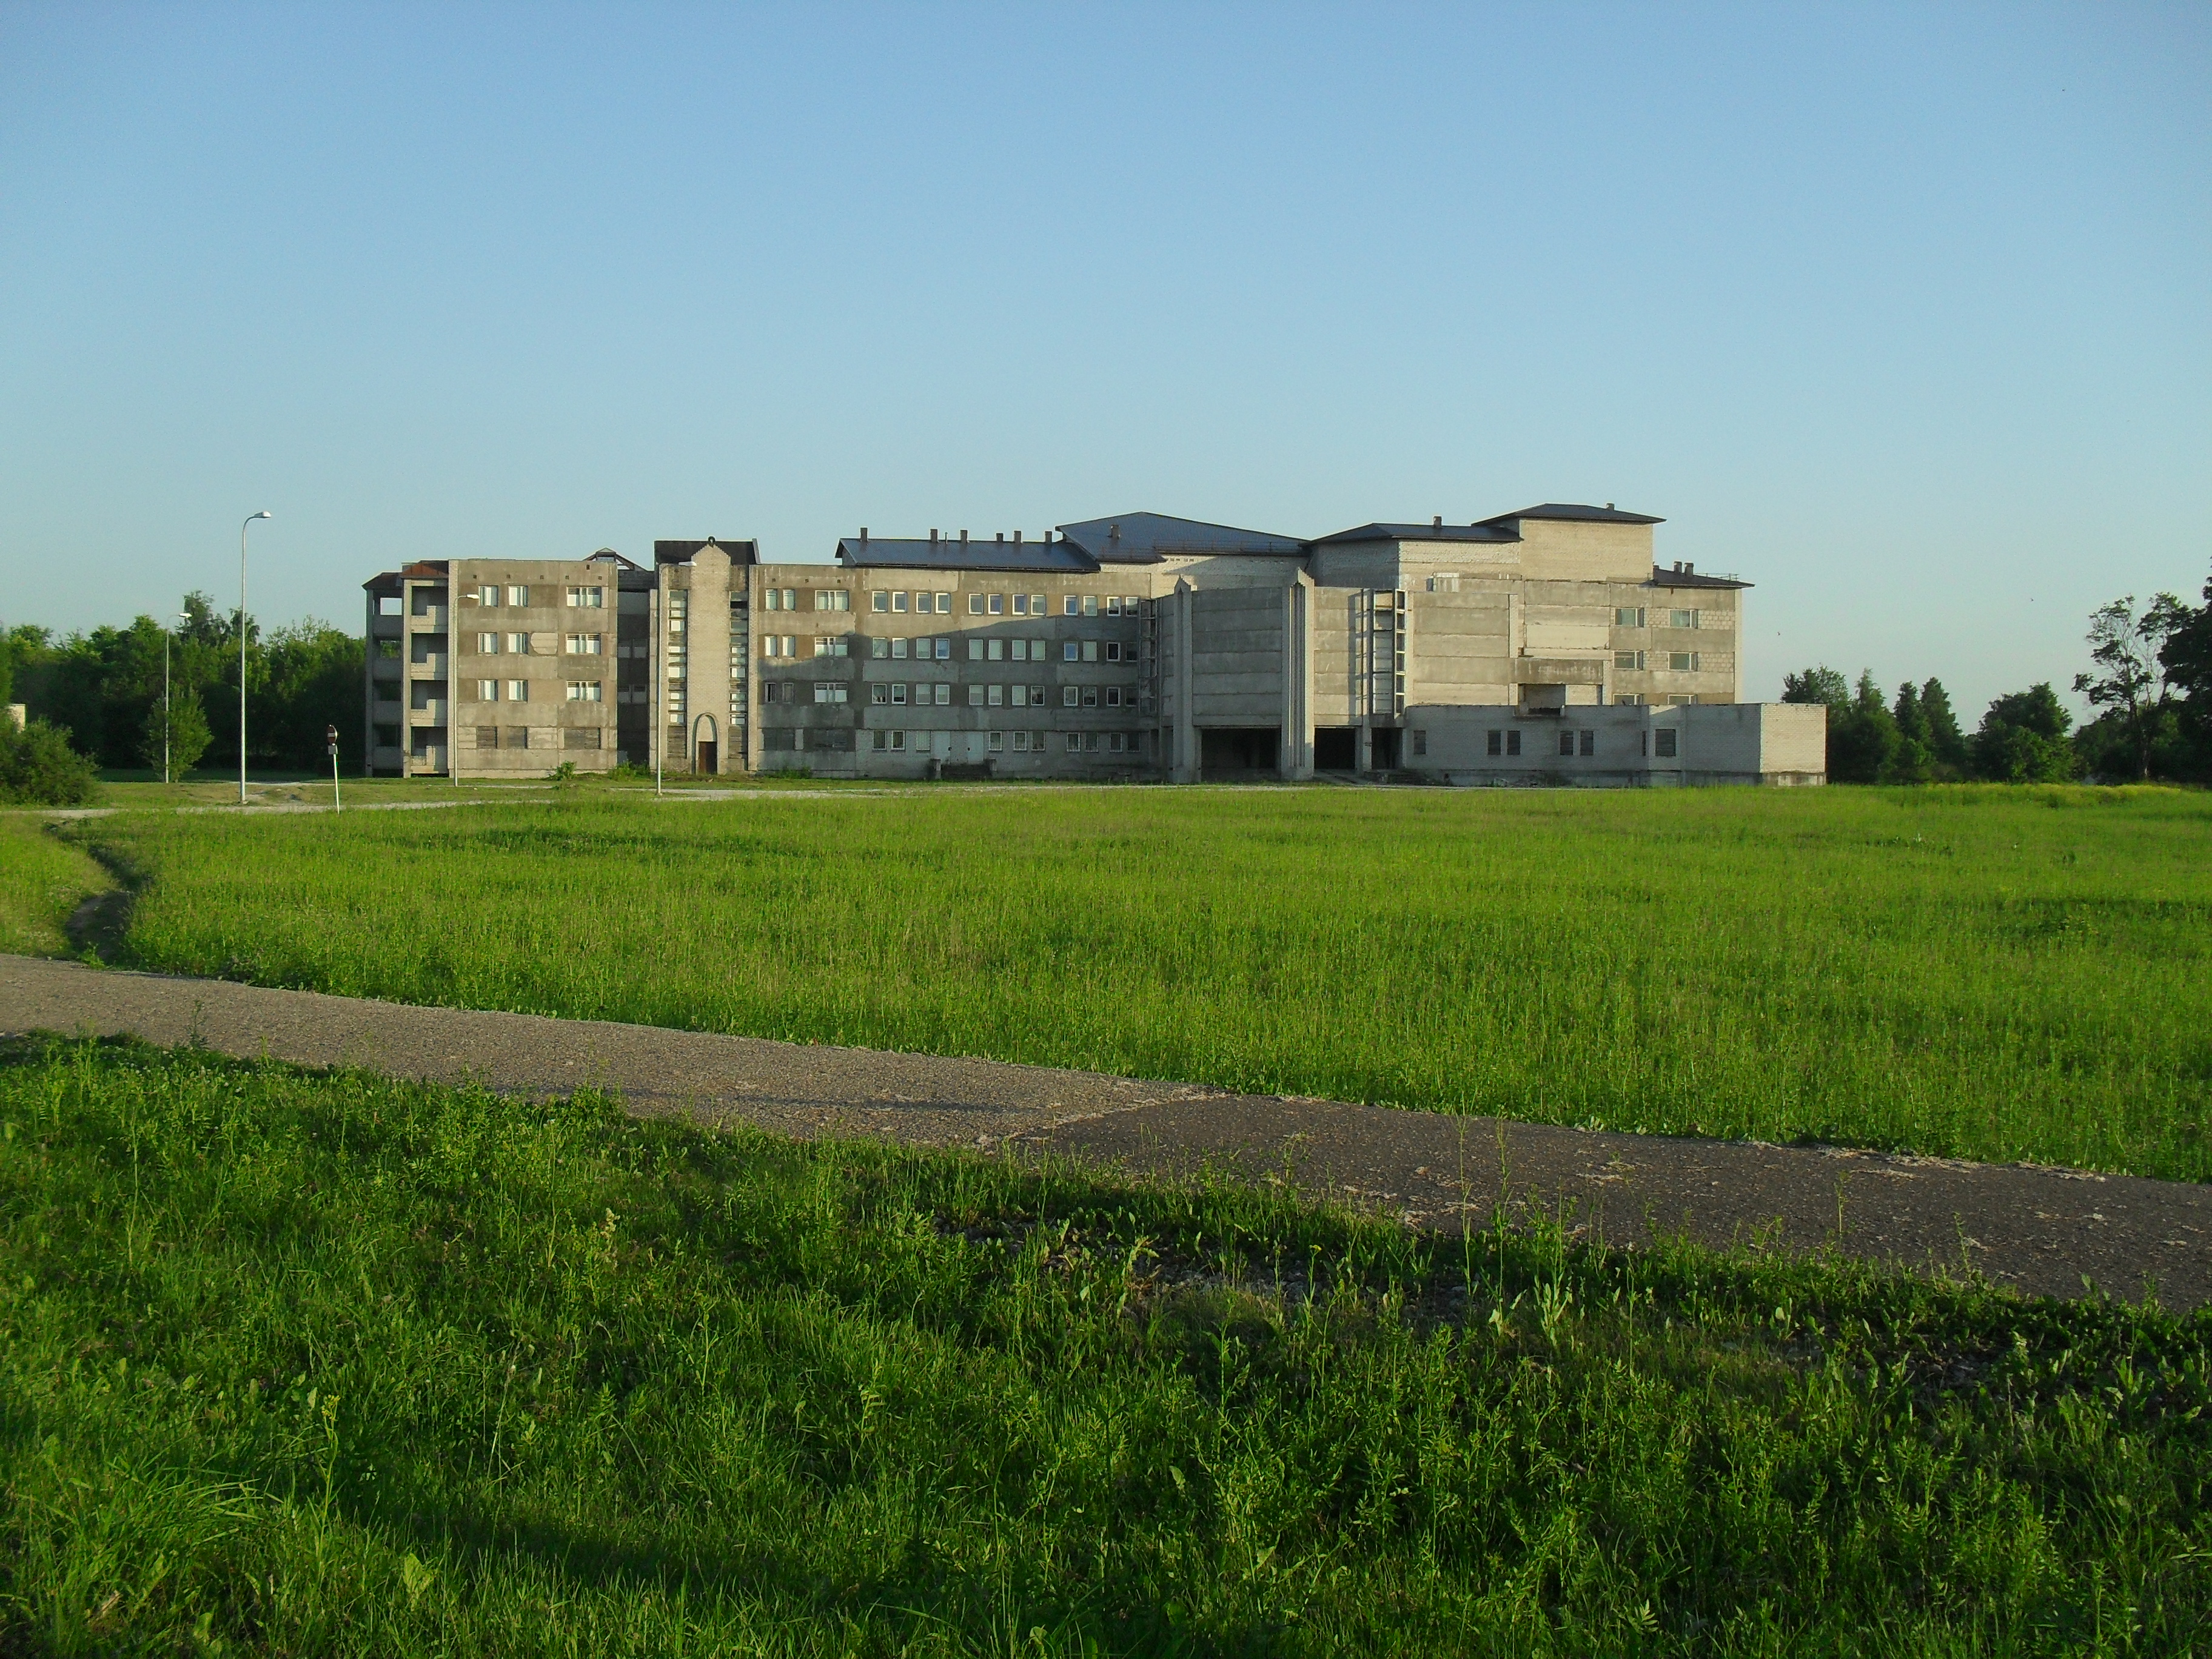
Here are some landscape pictures i've made myself. What do you think?How To Get Quality Shots In Low Light Using The Bulb Mode Generally, the longest programmed shutter speed setting on today's cameras is 30 seconds, which usually is alright for most subjects to photograph. Then again, there are plenty of scenarios when you need to make much lengthier exposures, for example in the dark. This is where the camera’s Bulb mode means everything. This convenient setting enables you to have the shutter open for as long as necessary, allowing exposures of minutes to be created.It’s smart to use Bulb setting when capturing star trails, night scenes lit up by the moon, vehicle light trails, lightning and when using very long exposures.It’s very useful for capturing a lightning over a period of time for one picture. You can cover the front of the lens with your hand between the lightning to stop light hitting the sensor.Bulb function is found on most cameras possibly by a specified exposure mode setting usually displayed as ‘B’ on the top dial or via Manual exposure method - by going one press down 30 seconds until BULB shows up on the display.In the Bulb mode, the shutter will stay open for so long as the shutter-release button is lowered, letting you to generate exposures of any duration. It’s easy to do this with your finger, but it’s not very sensible. Alternatively, you should use a remote shutter release button to open and close the shutter.How to set up and make use of the Bulb mode1. Eliminate camera shakeUse a tripod or some other solid support to guarantee there is no camera motion throughout the longer exposures. Be sure the tripod is tight and doesn't carry any vibrations from the wind, holding it low if needed. Also, turn off any anti-shake functions on the lens and camera.2. Use a remote releaseA remote shutter release together with a lock option enables you to hold the shutter open for as long as needed. The shutter is then shut by relieving the lock, which stops the exposure. |
||||||||
Pictures and content (c) Nick's Photo Blog |